Dictation
Dictation
Click where you want text to appear, then press ⌃⌘W. NanoVoice records from your microphone, transcribes the recording, applies the selected template, saves a recording, and pastes the result into that field. A floating capsule shows the active template and recording state.
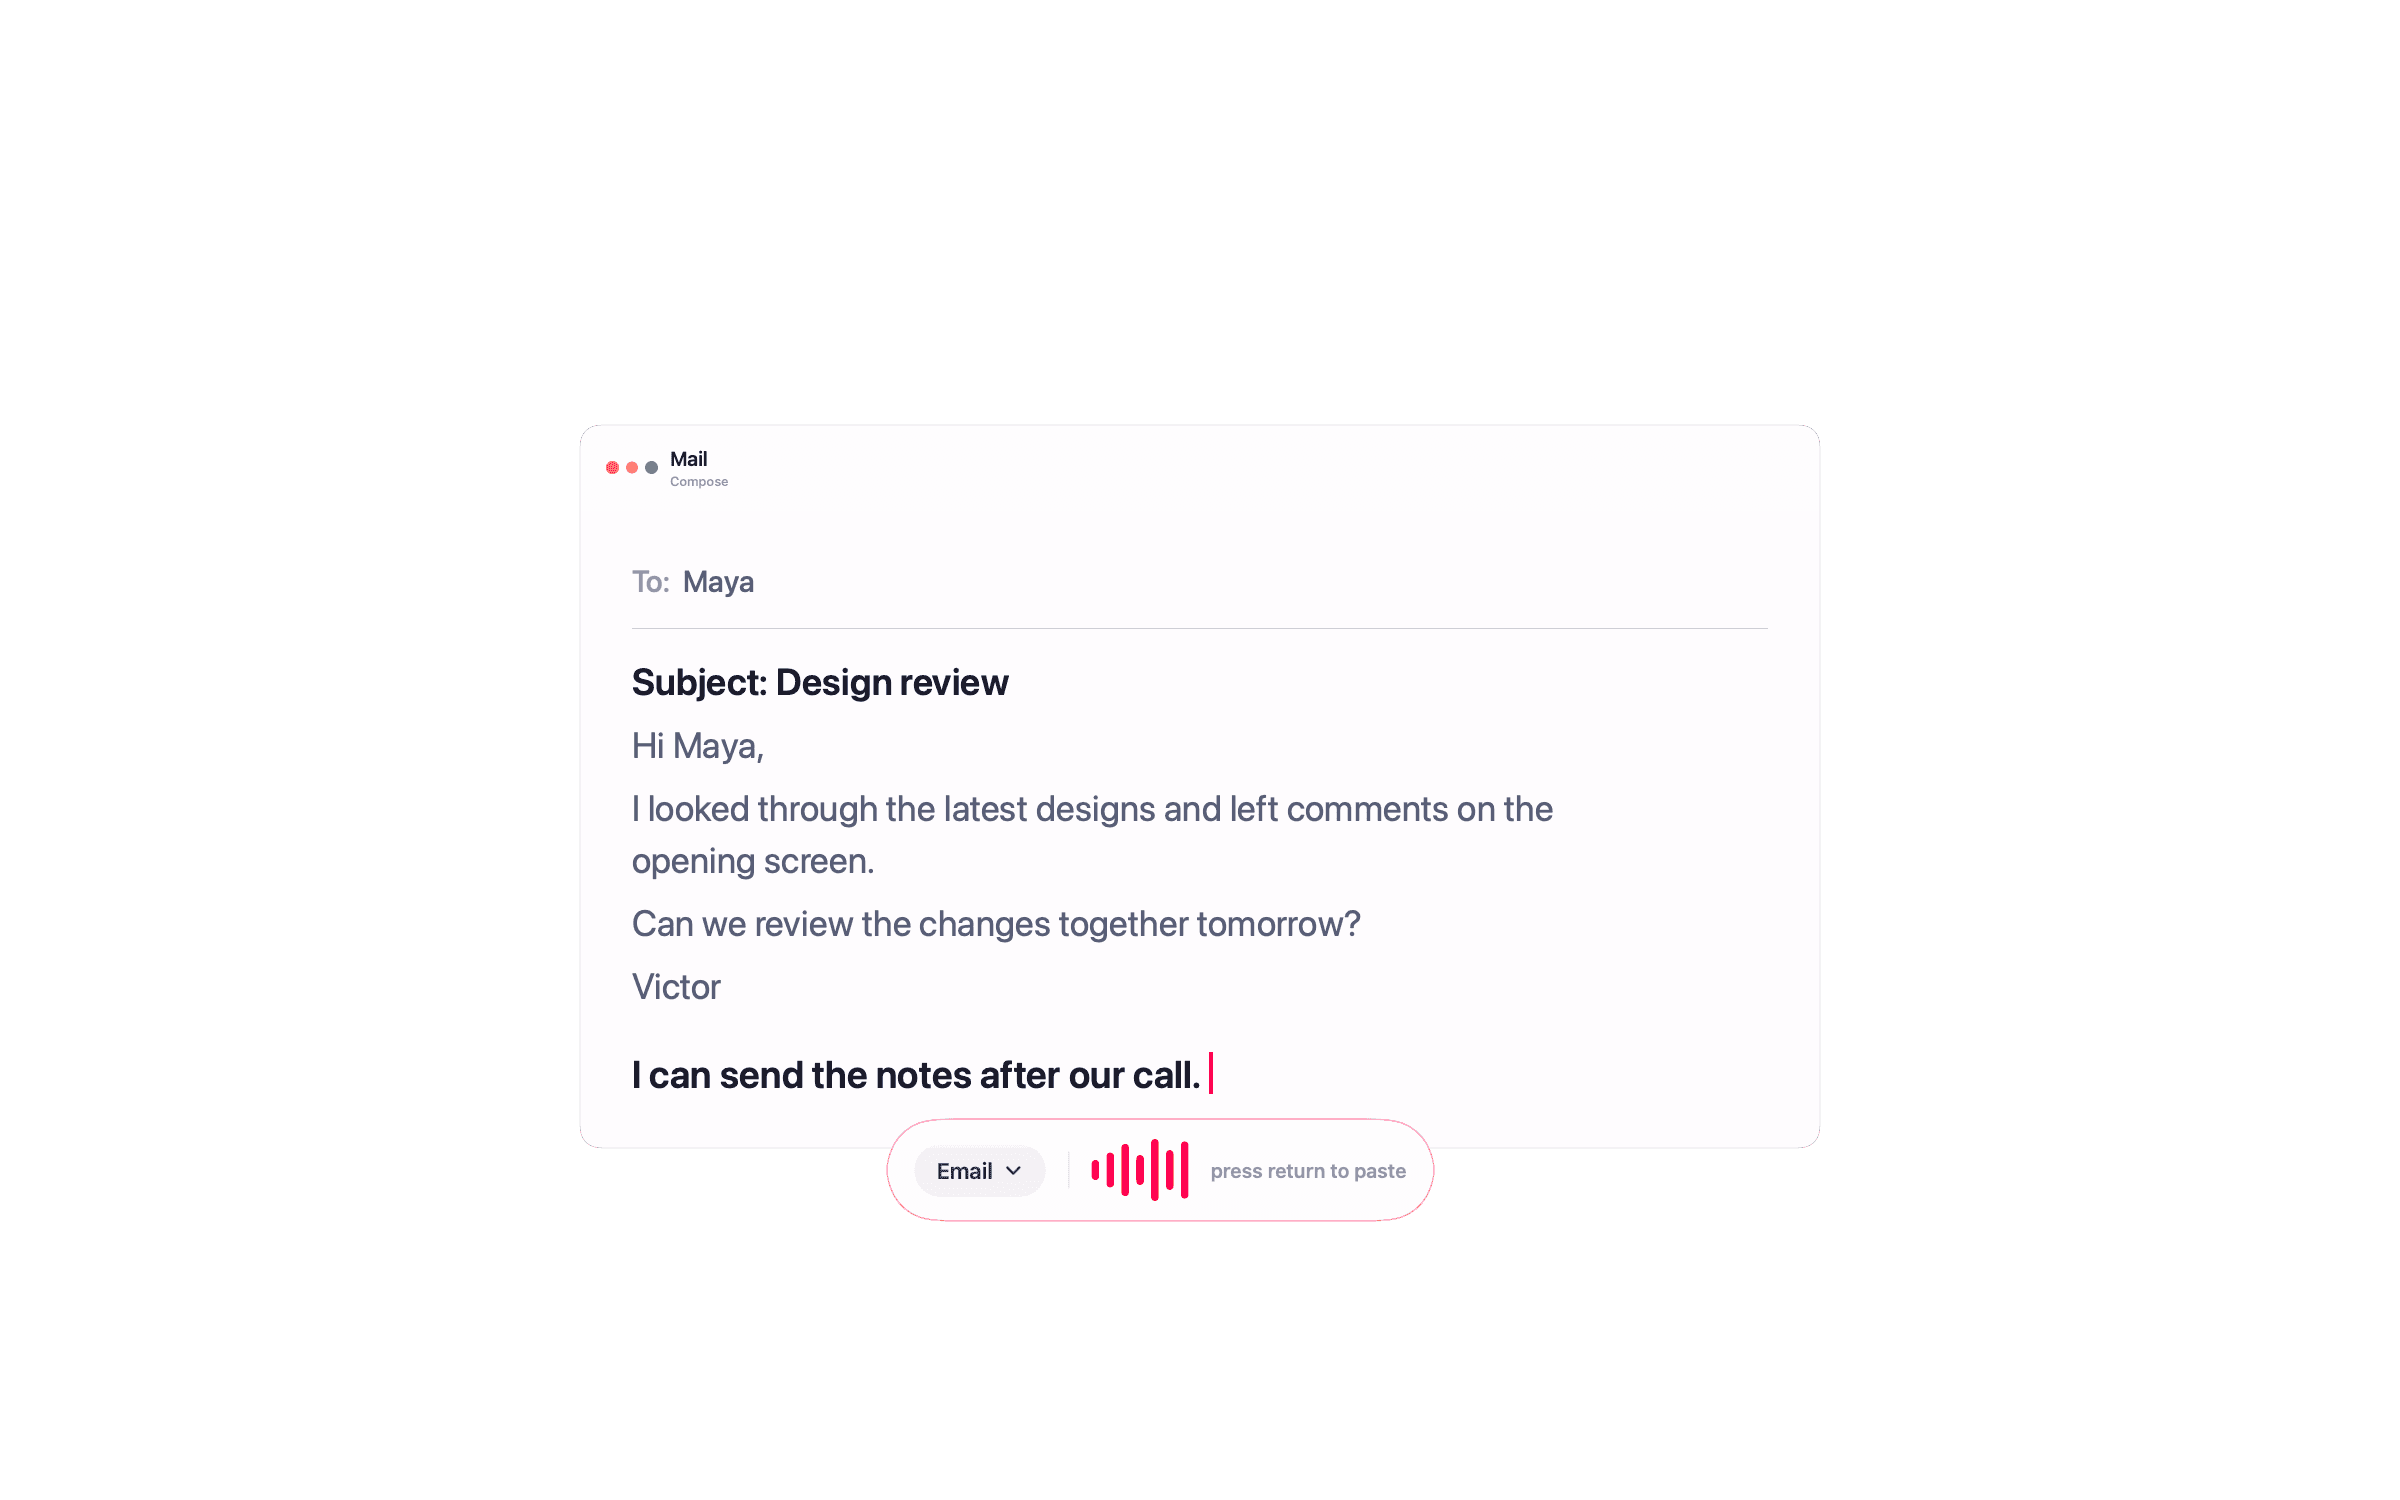
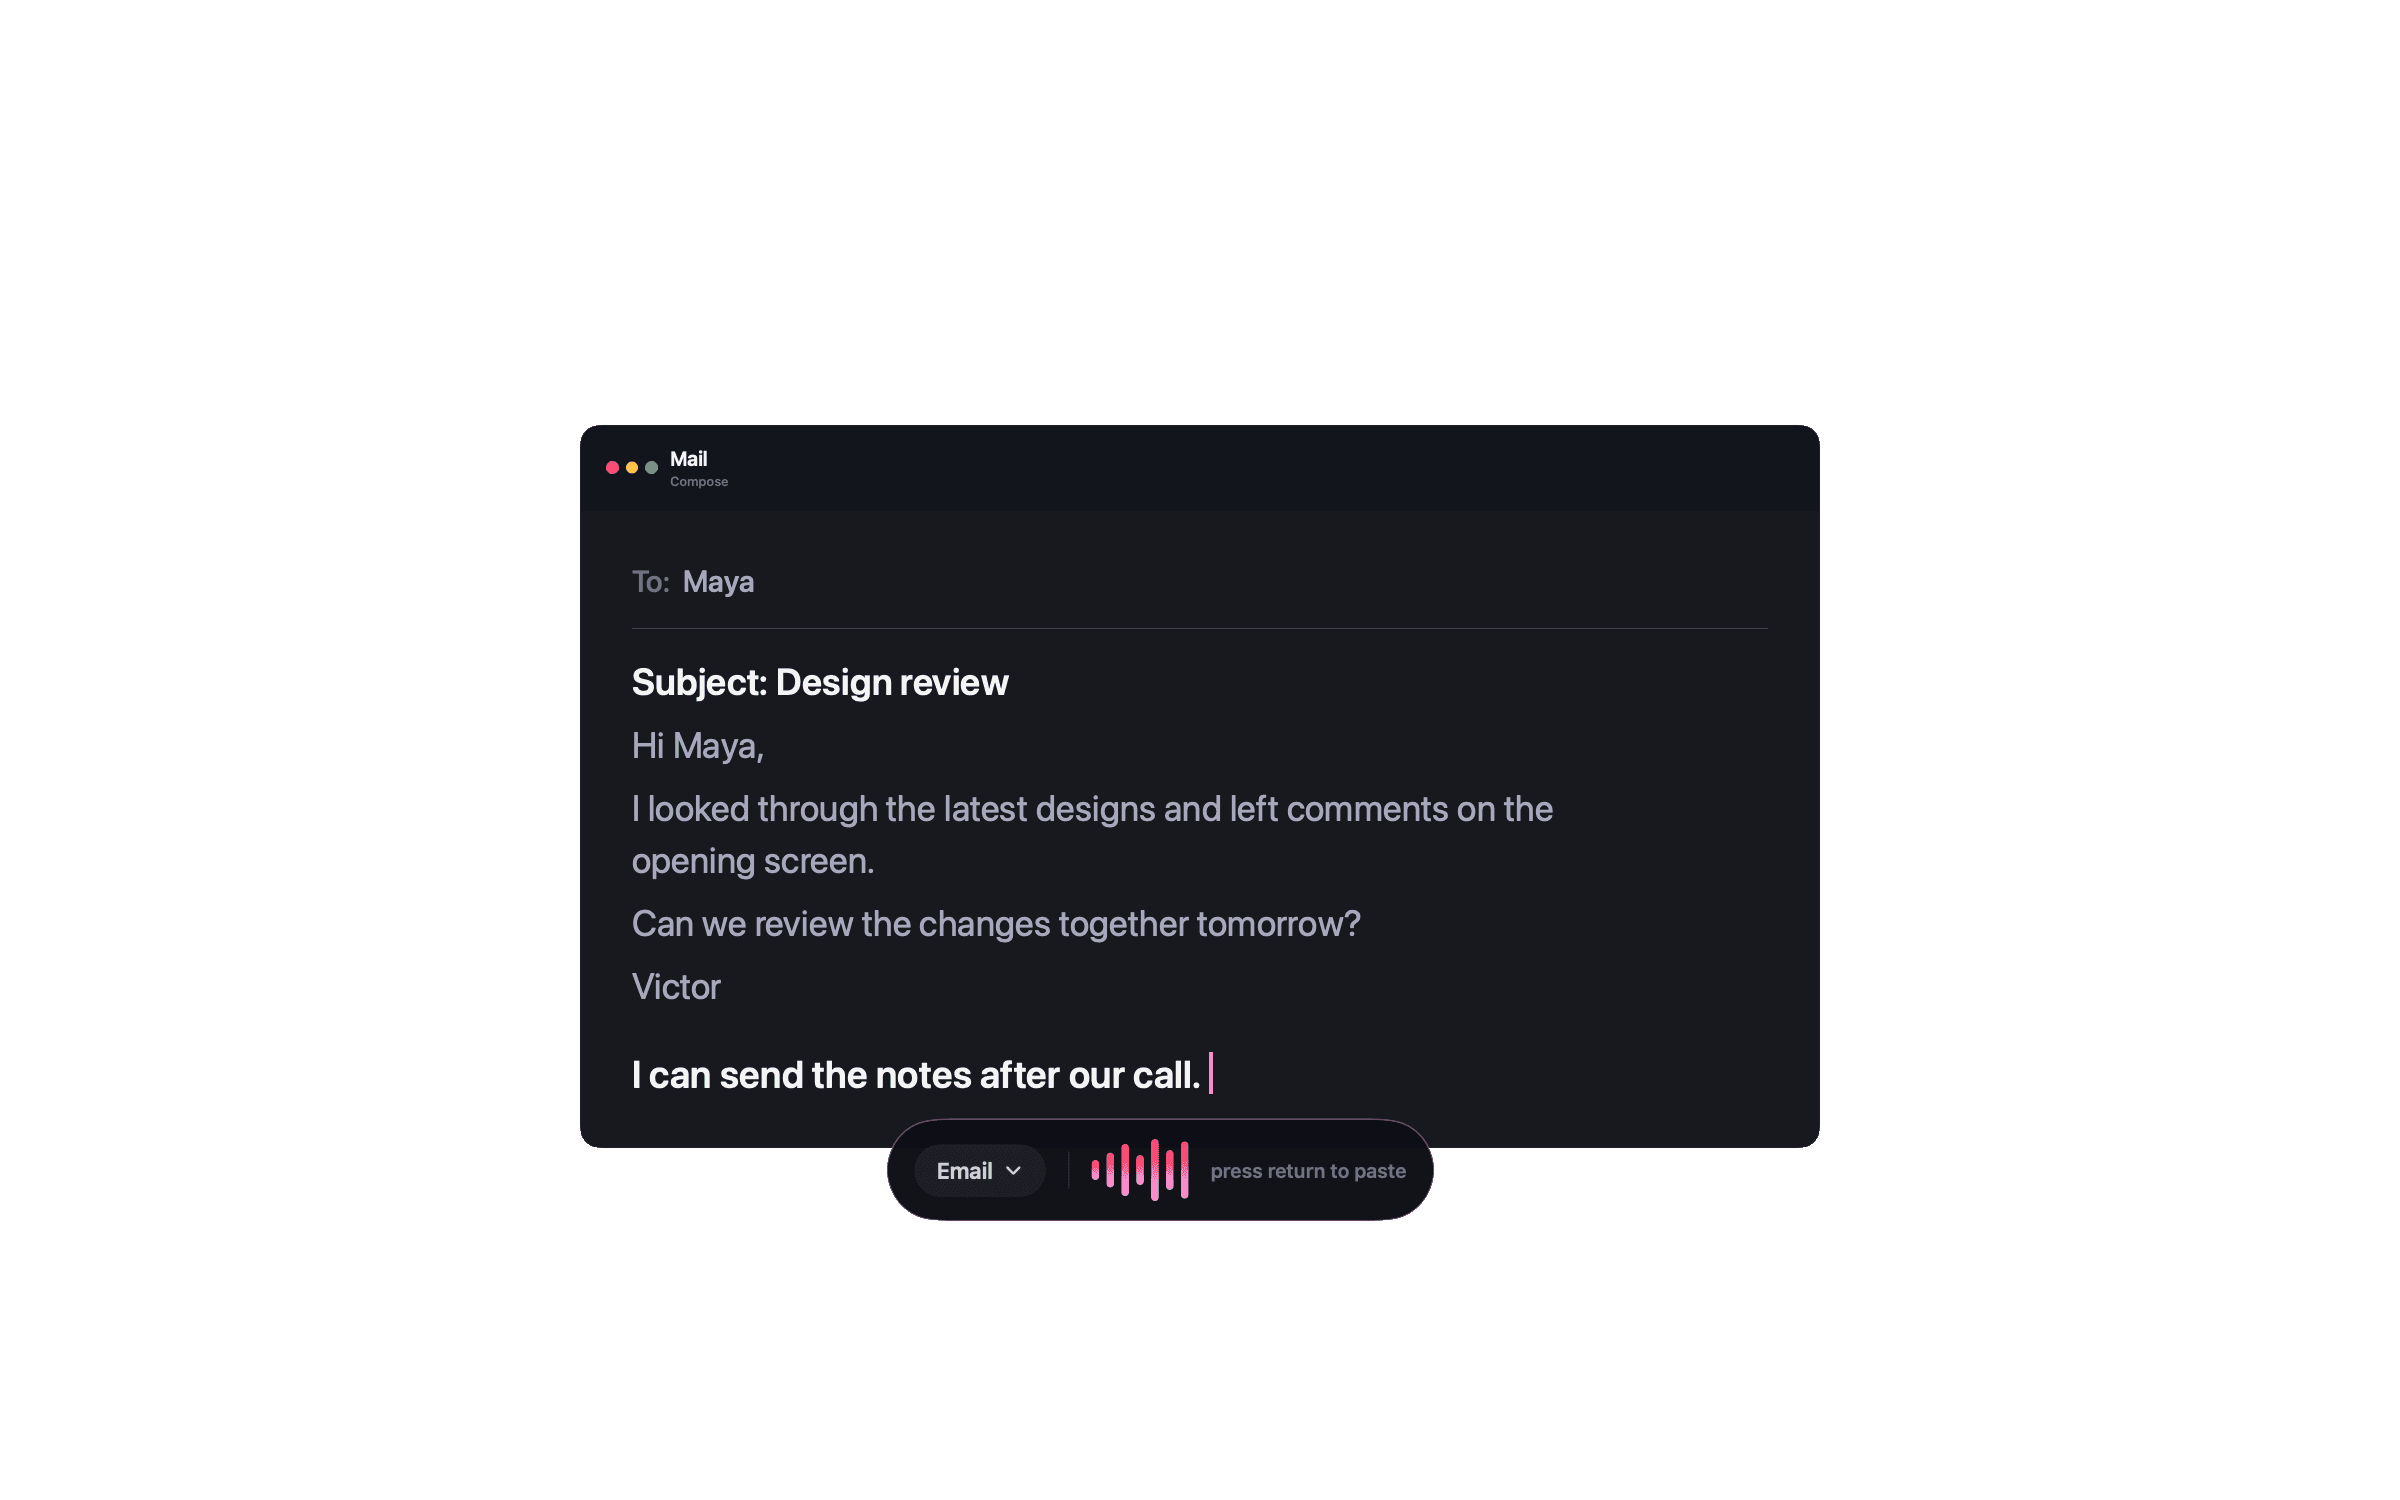
- Give NanoVoice permission. Dictation needs Microphone and Accessibility access. Apple Speech also needs Speech Recognition access.
- Focus an editable field. NanoVoice will not begin when macOS reports that there is nowhere to type.
- Start recording. Press ⌃⌘W. Choose another available template from the capsule if needed.
- Finish or cancel. In the default Press again mode, press Return or ⌃⌘W again to transcribe. Press Escape to discard the recording.
- Check the result. NanoVoice stores the raw and processed text in Recordings, then pastes the processed result. If macOS prevents that paste, NanoVoice copies the result to the clipboard.
Recordings
Recordings
Open Recordings with ⌃⌘R or from the menu bar. The newest recordings appear first, grouped as Today and Earlier. Select a recording to paste or copy its processed text; expand it to inspect its details and, in the side-panel view, its raw transcript.
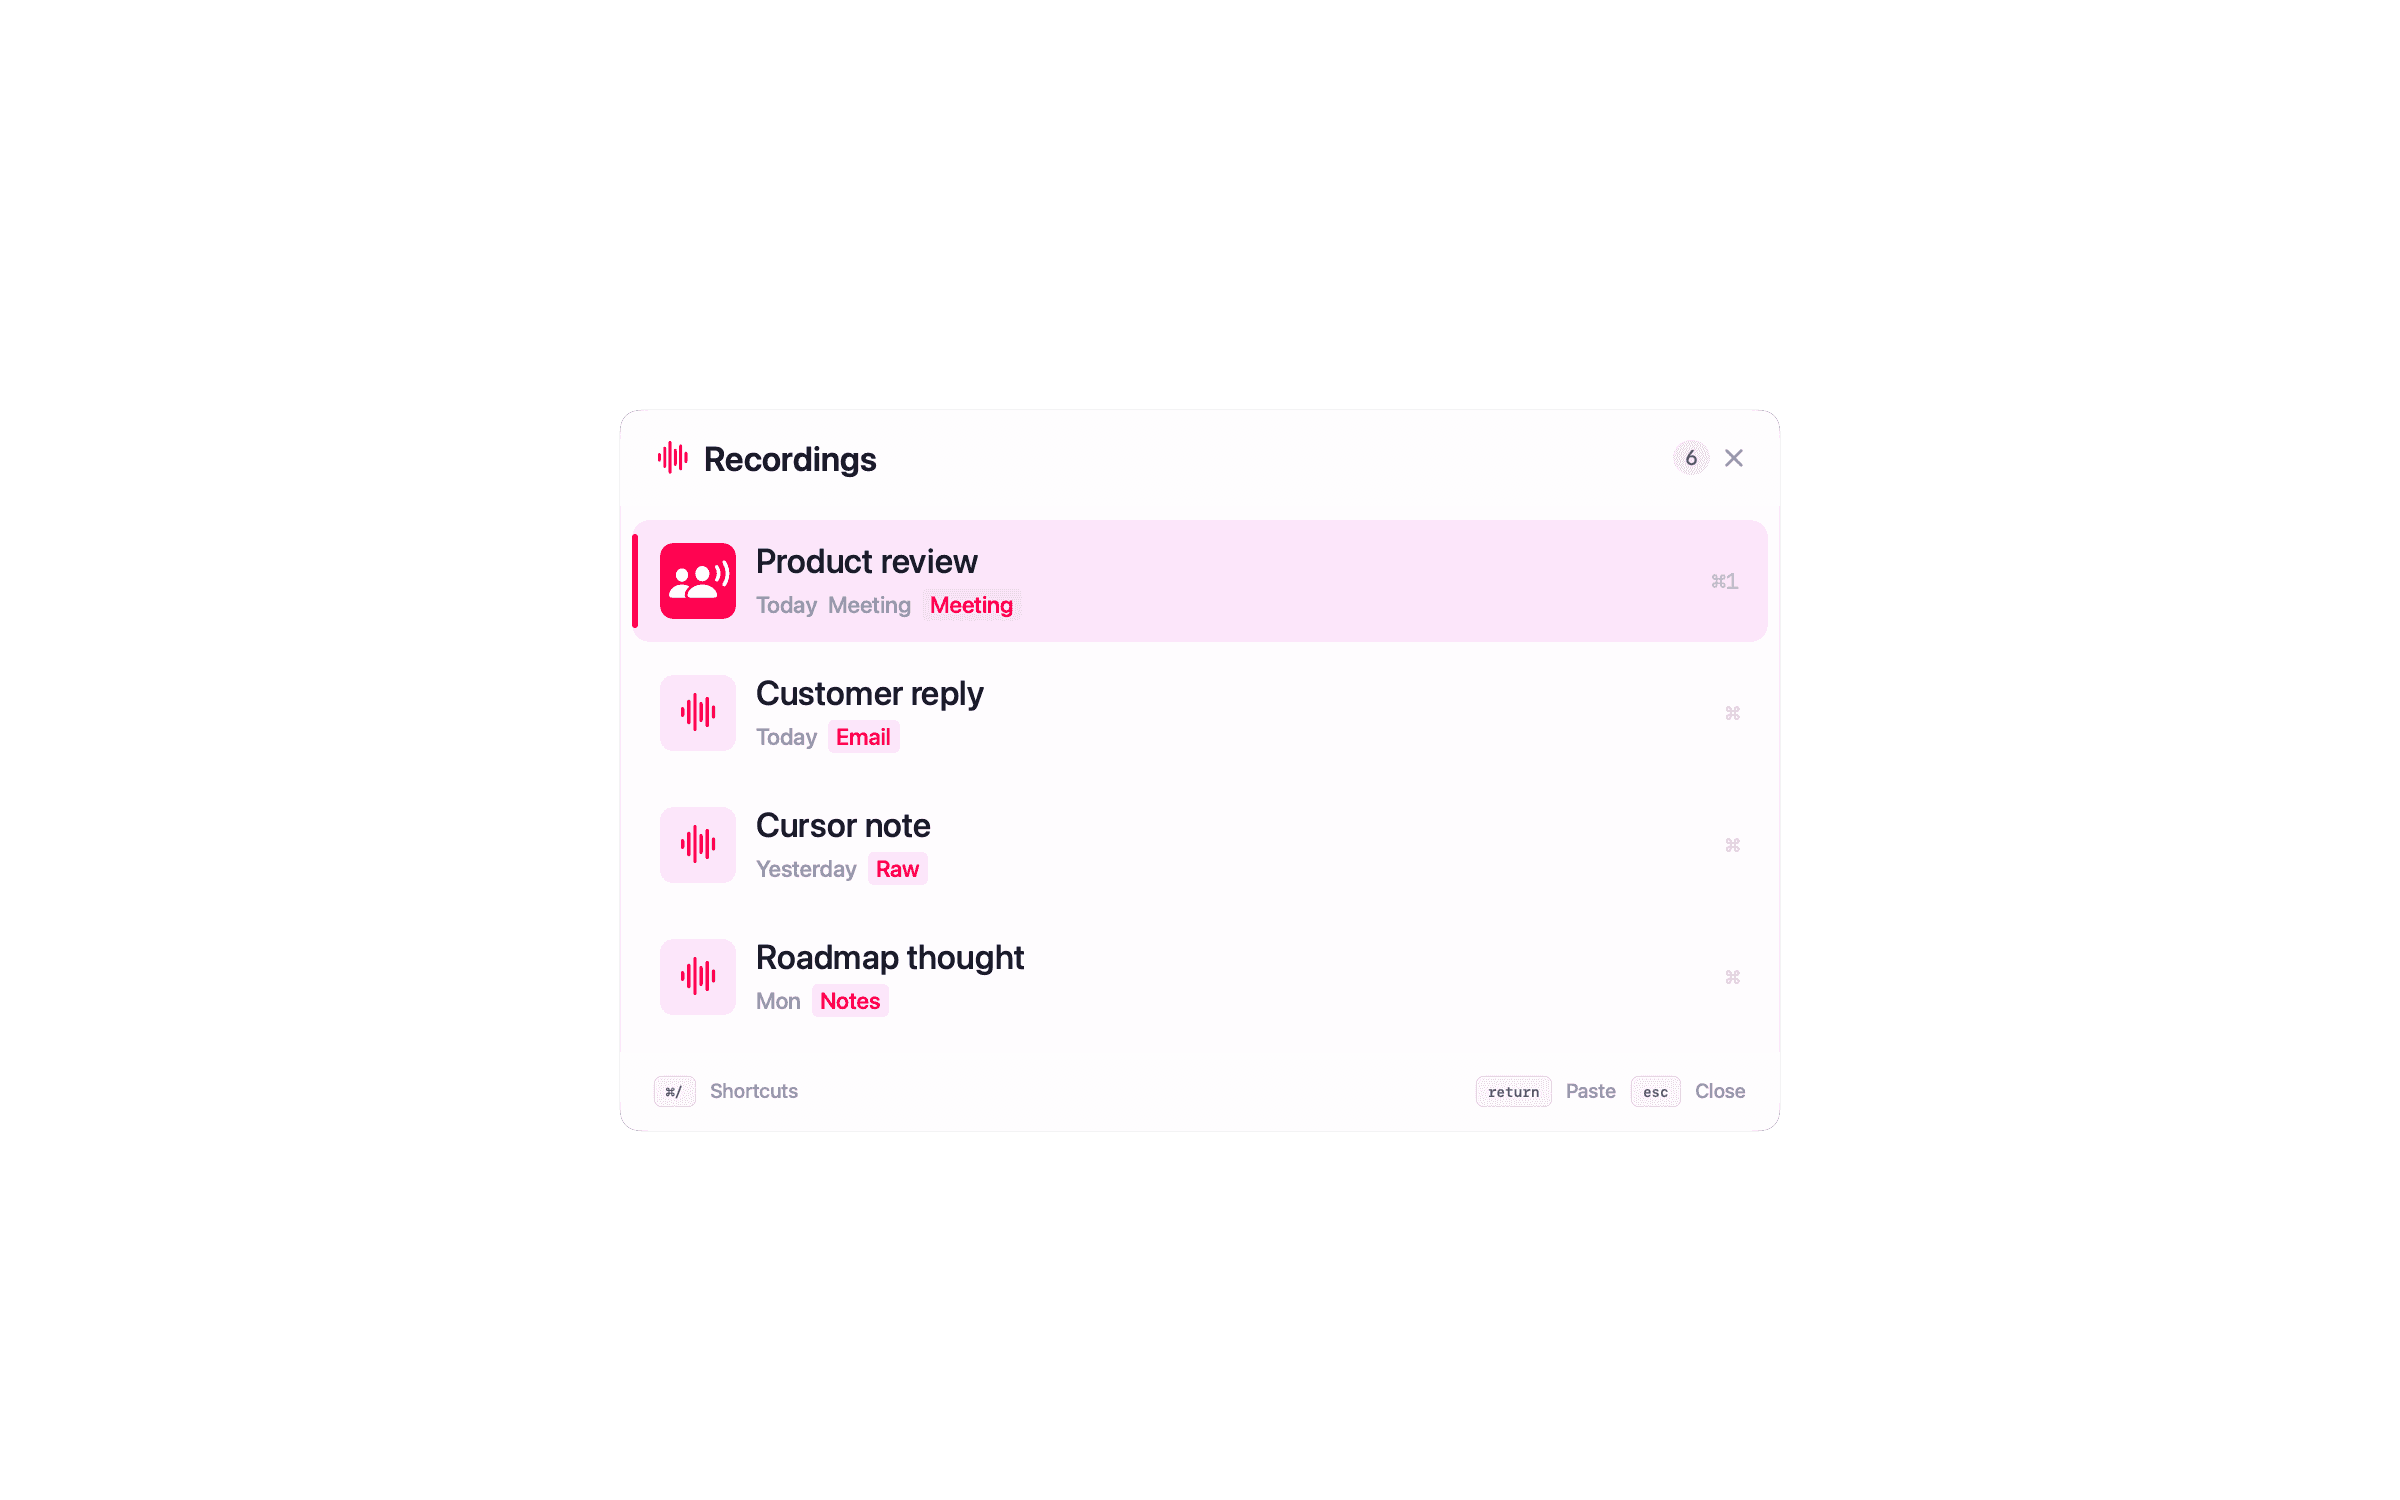
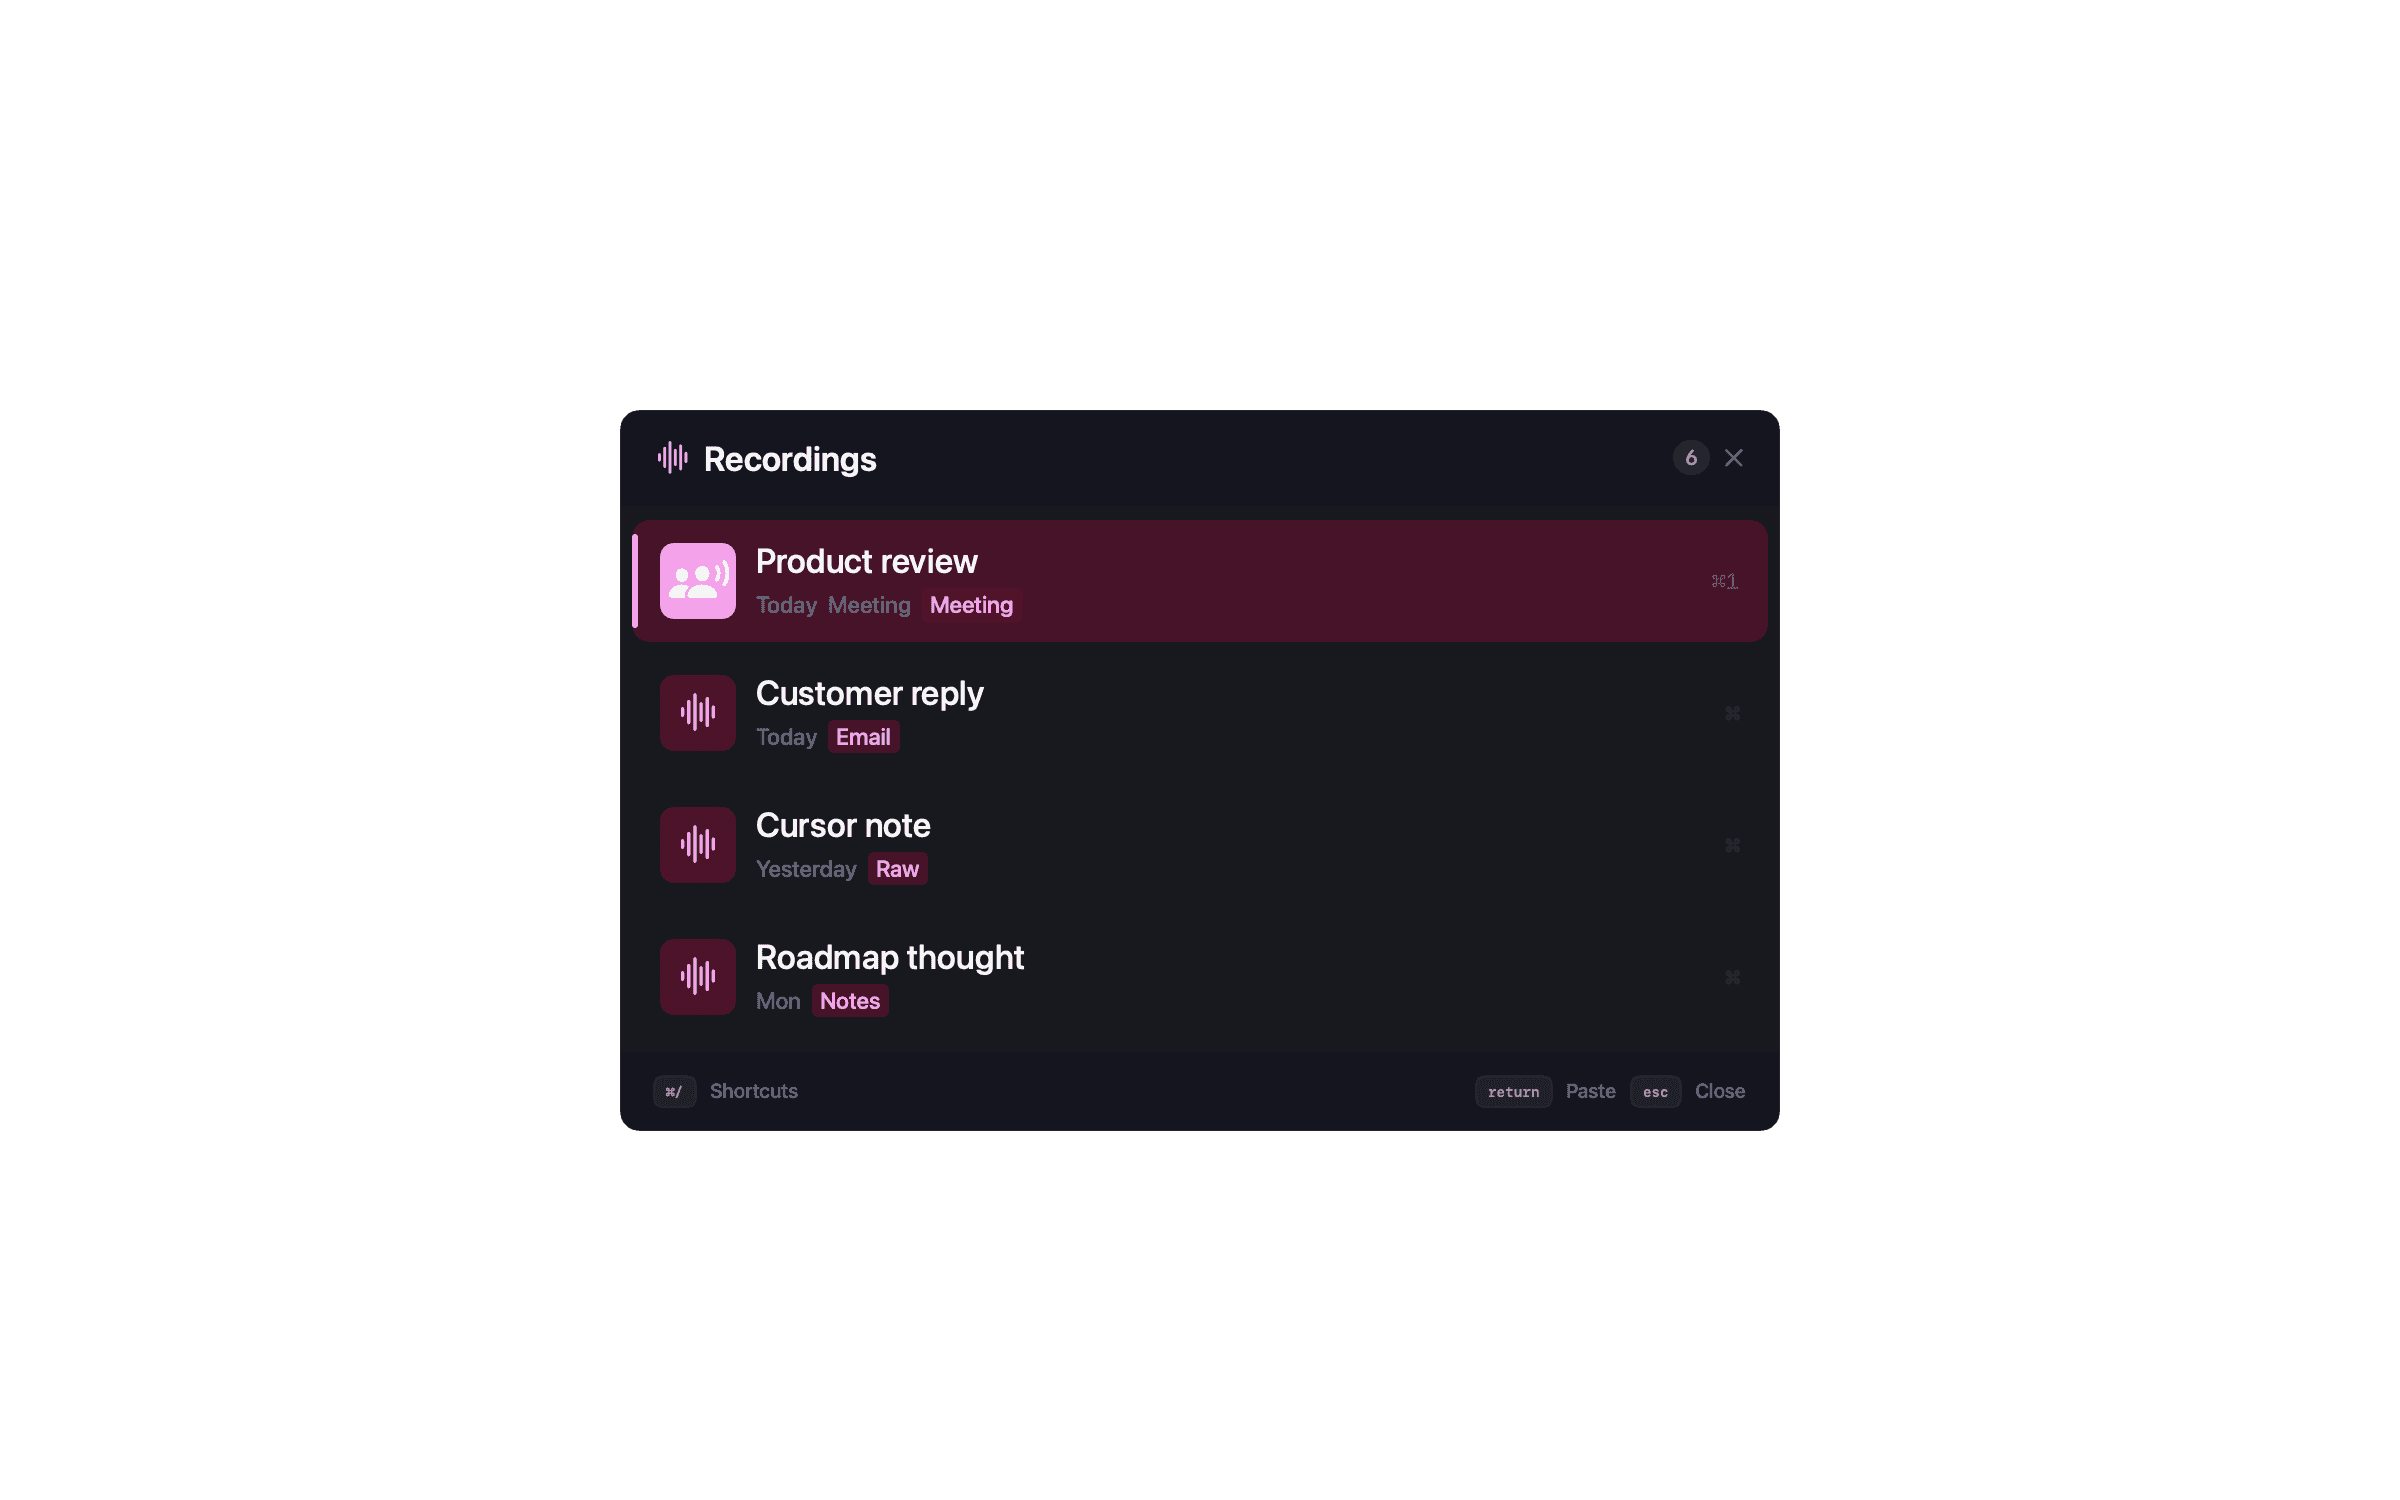
- Preview style
- Settings → General → Recordings window chooses Inline or Side panel. The side panel shows the full processed text and recording information beside the list.
- Raw transcript
- Expand a recording, then use ⌘T to show or hide the pre-template transcript in the side panel.
- Paste and copy
- Return or ⌘V pastes the selected recording. ⌘C copies it without pasting.
- History management
- Delete removes the selected recording. ⌘⇧Delete clears all recordings after confirmation.
Templates
Templates
A template receives the transcript after speech-to-text. Transcript pastes it unchanged and is available on the free tier. Lifetime adds Clean output, Email, Message, Notes, Meeting notes, and custom templates.
Choose a template
Select a template from the dictation capsule before you speak, or choose Settings → General → Active template. Meeting Mode has a separate template selection in Settings → Meetings.
Create and test a custom template
- Open Settings → Templates and select New Template.
- Name the template and write the prompt that should process the transcript. The selected formatting engine receives that prompt together with the transcript.
- Use Playground to paste sample raw text, choose a processor and model, run the template, and copy the output.
- Select it for dictation. Return to General or use the template menu in the dictation capsule.
Models & language
Models and language
Settings → Models separates the two parts of the pipeline. The Speech to text pane chooses the transcription engine and language. The Formatting pane chooses the processor used by templates other than Transcript.
- Apple Speech
- The free, on-device macOS speech engine. It requires Speech Recognition permission.
- Whisper
- A Lifetime local WhisperKit model. Download a Whisper model before dictating; NanoVoice can warm the selected model in advance.
- Parakeet V3
- A Lifetime local Core ML transcription model. Download it from Models before use.
- Apple Intelligence
- The default formatting processor. When unavailable, NanoVoice leaves the transcript raw.
- On-device LLM / Ollama
- Lifetime formatting options. On-device LLM downloads a local model; Ollama uses a model installed in your local Ollama service.
- OpenAI, Anthropic, and Gemini
- Lifetime bring-your-own-key formatting options. Add and test the provider key in Models → Cloud keys, then select a fetched or configured model.
Language and vocabulary
Choose Automatic or a fixed language in Models → Speech to text. The current choices are English, Spanish, Catalan, French, German, Italian, Portuguese, Dutch, Swedish, Norwegian, Danish, Finnish, Greek, Czech, Romanian, Hungarian, Russian, Chinese, Japanese, Korean, Vietnamese, Thai, Indonesian, Arabic, Hebrew, Hindi, Turkish, Polish, and Ukrainian.
Settings → Vocabulary lets Lifetime users add up to 200 names, acronyms, codes, or other custom terms. You can import a comma-, semicolon-, or line-separated list from the clipboard, copy the list back out, and remove terms individually. NanoVoice uses these terms as context for Whisper and template cleanup.
Meeting Mode
Meeting Mode
Meeting Mode is a Lifetime feature. Start it manually from the menu bar or with ⌃⌘M; press the shortcut again to stop. NanoVoice records your microphone and this Mac’s system audio, then saves the processed result in Recordings.
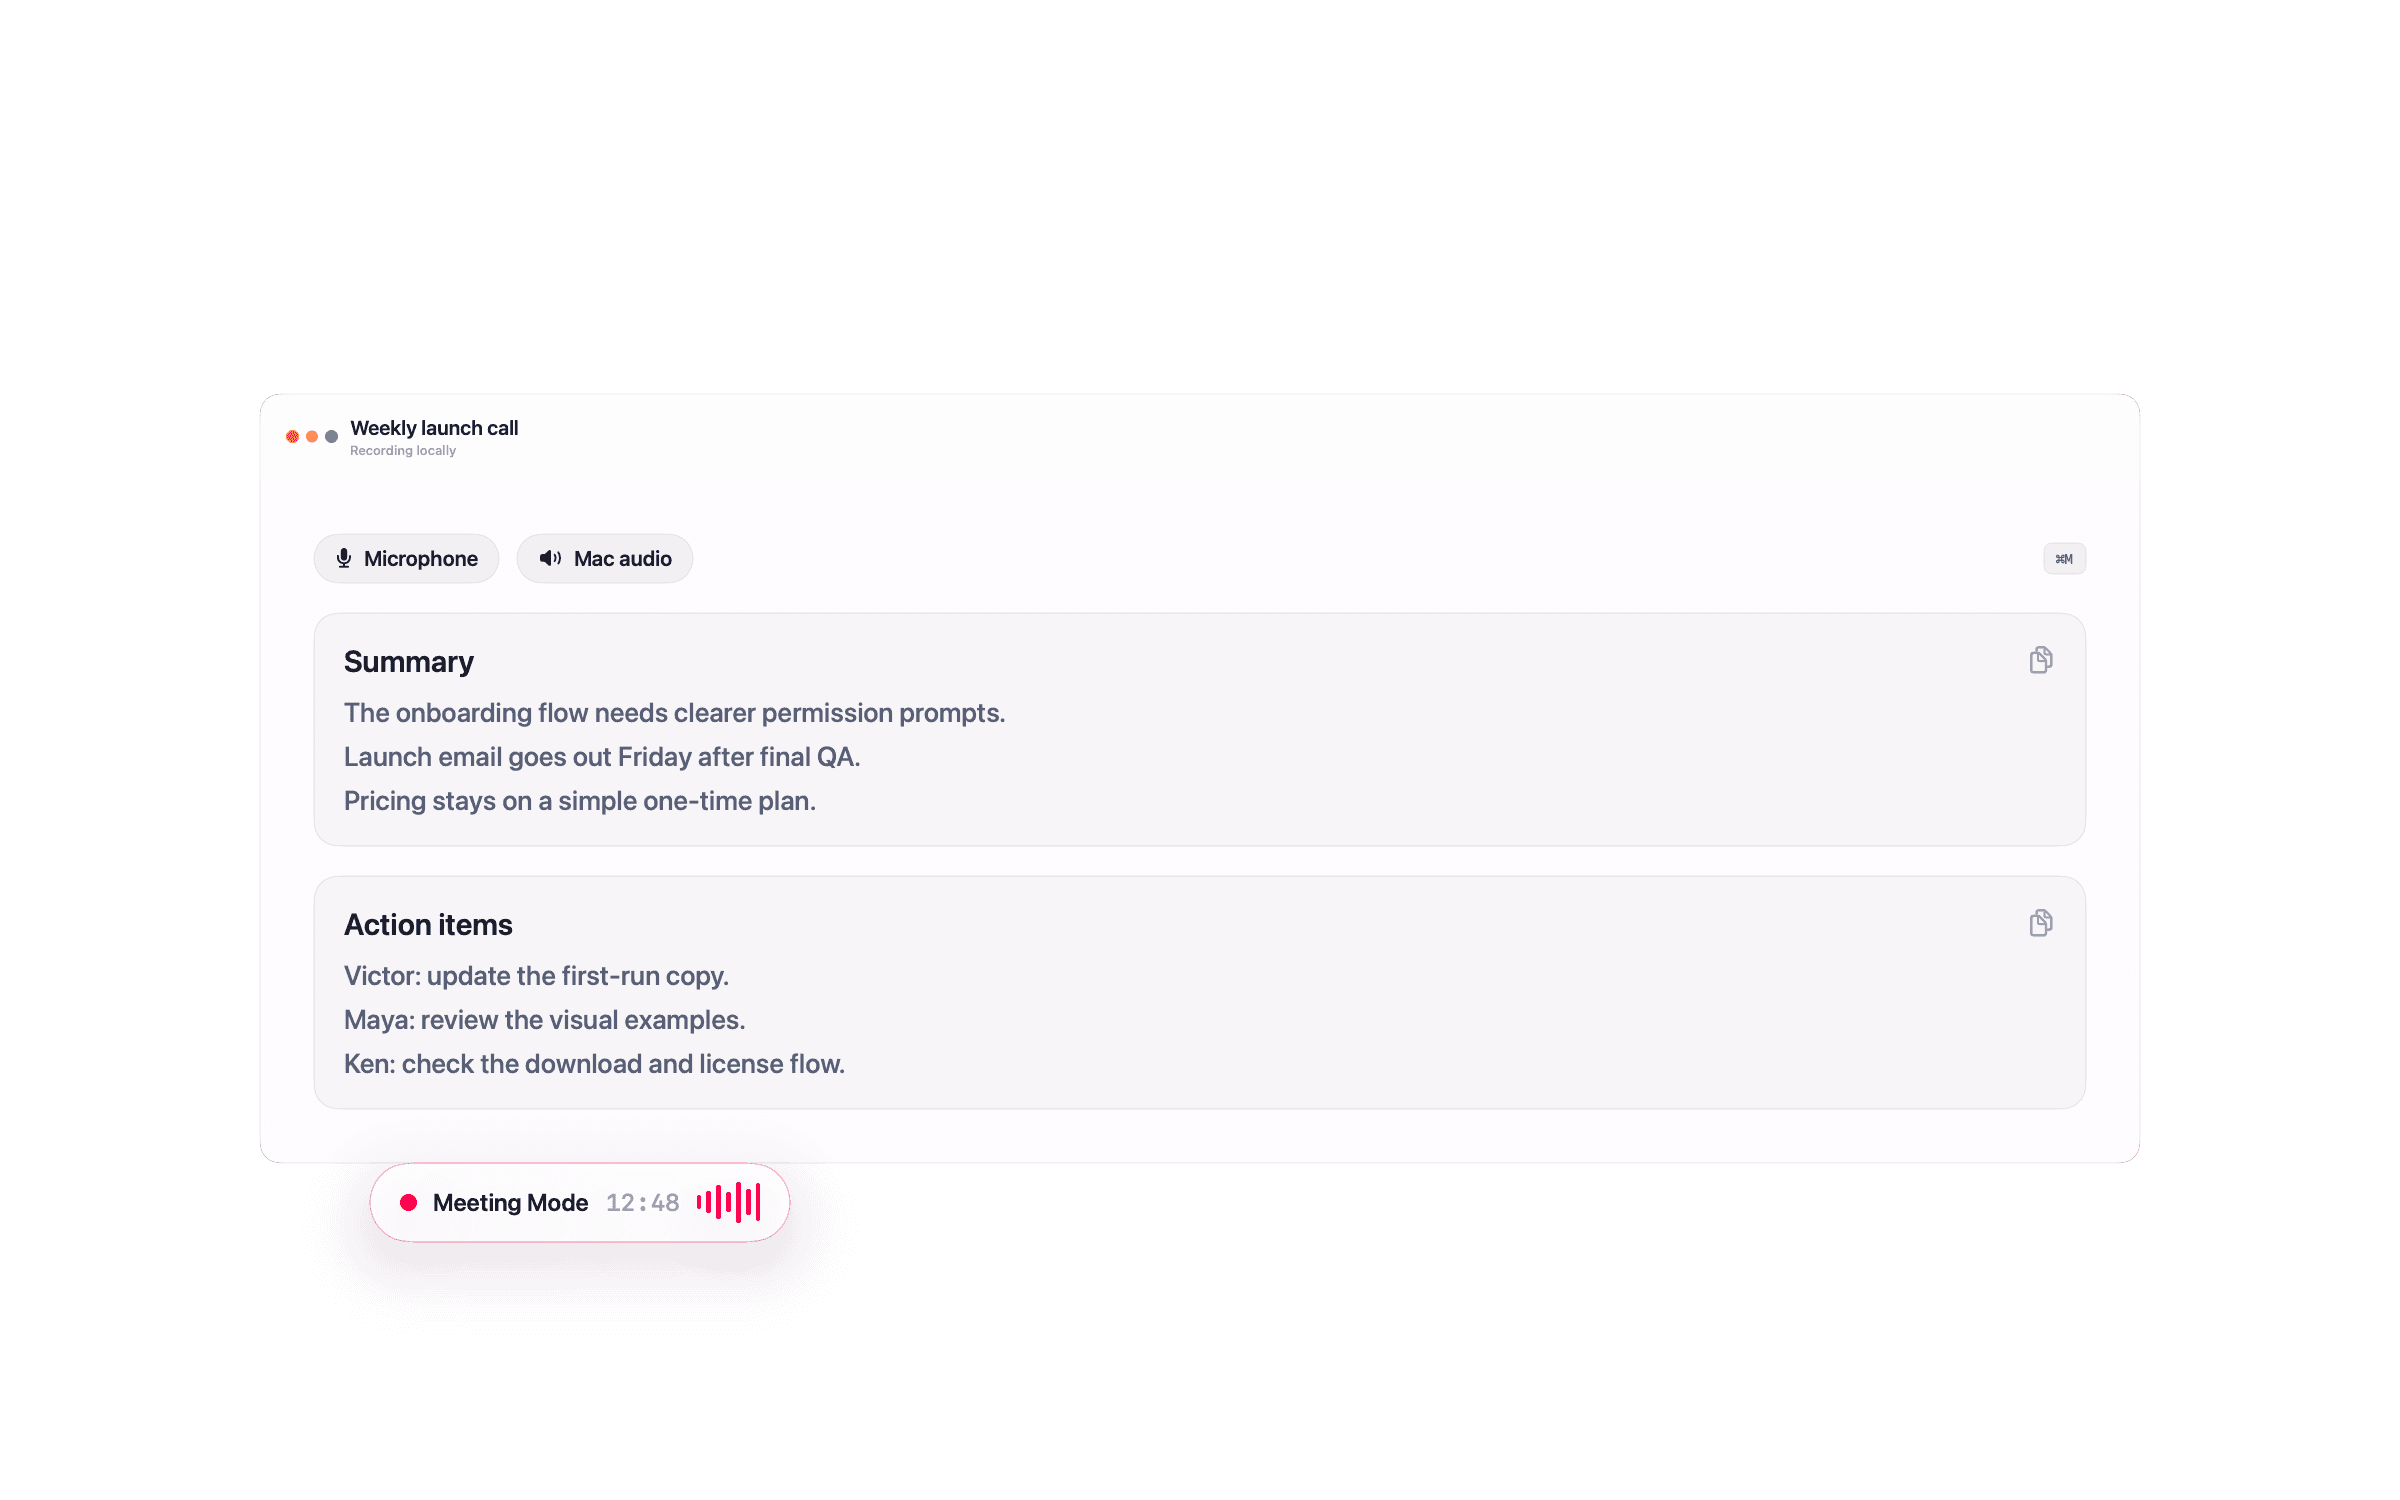
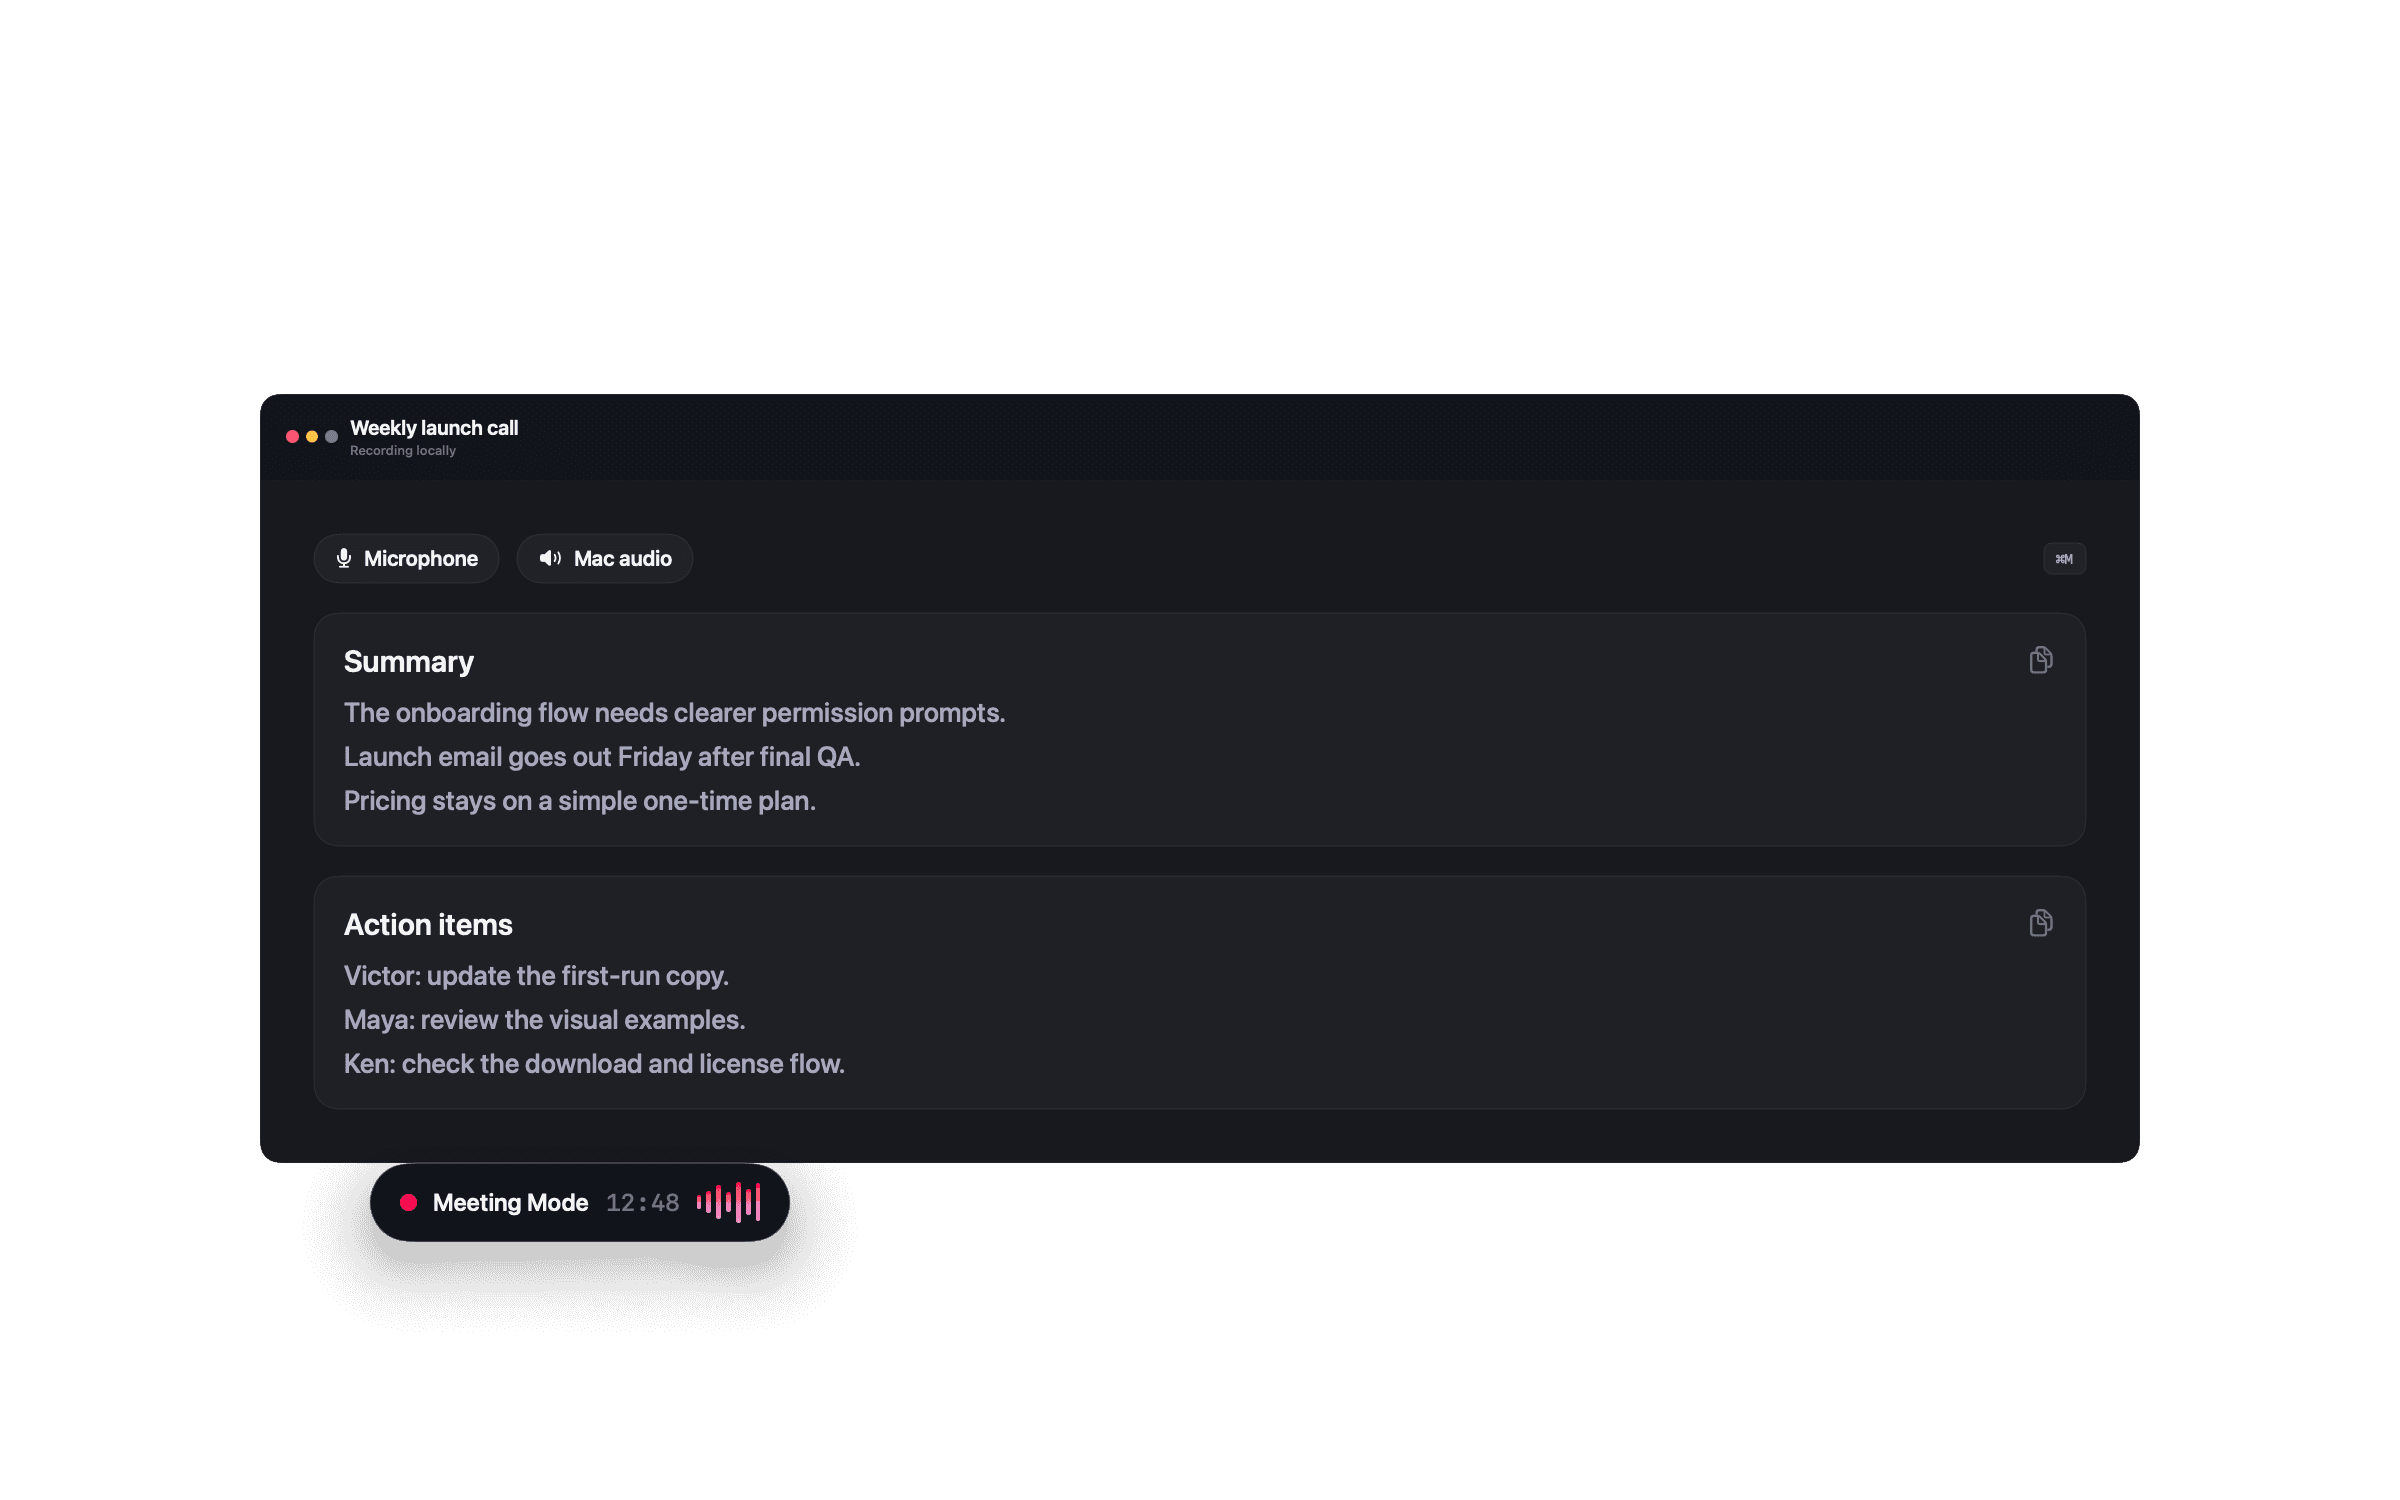
- Open Settings → Meetings. Choose the after-recording template and, if wanted, turn on automatic detection of supported meeting windows. Detection offers to record; it does not join a meeting or act as a bot. It needs Accessibility to read window titles.
- Check permissions. Meeting Mode needs Microphone and System Audio Recording access. macOS asks for system-audio permission when you first start a meeting recording.
- Start and stop the meeting. Use ⌃⌘M, the menu-bar command, or the stop control on the floating recording pill.
- Wait for processing. NanoVoice creates a processing item in Recordings, transcribes both audio sources, applies the meeting template, and updates that item with the result or an error.
Complete settings reference
Settings reference
Open Settings from the menu-bar icon, or press ⌘, while its menu is open. Some selections depend on whether Lifetime is active.
- General
- Current plan, sound effects, Recordings preview style (inline or side panel), and the active template.
- Models
- Transcription engine and language; formatting engine and model; cloud API keys and cloud model selection.
- Vocabulary
- Add, delete, import from the clipboard, or copy up to 200 custom words. Available with Lifetime.
- Meetings
- Automatic meeting detection, the template used after a meeting, Meeting Mode shortcut, and capture details.
- Appearance
- Choose a theme for the dictation capsule and Recordings panel. Liquid Glass, Translucent, and Clean are free.
- Templates
- Review built-in prompts; edit eligible built-ins; add, rename, edit, test, and delete custom templates.
- Shortcuts
- Record the three global shortcuts and select toggle or hold-to-talk dictation.
- License
- View Lifetime status, activate or deactivate a license, and buy Lifetime.
- Permissions
- Check Microphone, Speech Recognition, Accessibility, and System Audio status; open macOS settings when needed.
Shortcut reference
Shortcut reference
Global shortcuts can be changed in Settings → Shortcuts. Recordings also has a local shortcut panel: open it with ⌘/ while Recordings is visible.
Global
- Start / stop dictation
- ⌃⌘W
- Open Recordings
- ⌃⌘R
- Start / stop Meeting Mode
- ⌃⌘M
- Open Settings from menu bar
- ⌘,
While dictating
- Finish and transcribe (toggle mode)
- Return
- Cancel
- Escape
- Finish dictation (hold-to-talk mode)
- Release shortcut
In Templates
- Run the selected template in Playground
- ⌘Return
In Recordings
- Move selection
- ↑ / ↓
- Expand / collapse selected recording
- → / ←
- Paste selected recording
- Return / ⌘V
- Copy selected recording
- ⌘C
- Show / hide raw transcript
- ⌘T
- Scroll expanded transcript
- ⌘↑ / ⌘↓
- Jump to and paste recording 1–9
- ⌘1–⌘9
- Delete selected recording
- Delete / Fn Delete
- Clear all recordings (confirmation required)
- ⌘⇧Delete
- Show the Recordings shortcut panel
- ⌘/
- Close or collapse
- Escape
Access, privacy & plans
Permissions, privacy, and plans
- Accessibility
- Lets NanoVoice paste into the previously focused text field. Without it, NanoVoice can still copy the result to the clipboard.
- Microphone and Speech Recognition
- Microphone is required for dictation and Meeting Mode. Speech Recognition is required when Apple Speech is the selected transcription engine.
- System Audio Recording
- Required only for Meeting Mode, which records this Mac’s system audio in addition to the microphone.
- Local recording history
- NanoVoice stores processed text and the raw transcript so you can revisit a recording. Captured audio files are temporary and are removed after processing. Delete individual items or clear the list from Recordings.
- Diagnostics
- NanoVoice can send analytics and crash information such as engine, language, template, duration, paste result, and failure descriptions; the app does not send transcript content in those events.
- Free
- Apple Speech, the Transcript template, three most-recent accessible recordings, and the three free themes. Older recordings remain visible but locked rather than deleted.
- Lifetime
- Local transcription models, advanced and custom templates, custom vocabulary, Meeting Mode, all themes, local/Ollama formatting, and cloud formatting with your own API key.